Quick Start Guide
Installation
If you have not done so already, please install the following plugins:
- WooCommerce
- LaunchFlows
LaunchFlows offers a few global options you can setup from the main tab in the Admin Menu Bar of WordPress.
We suggest that you setup your LaunchFlows options as shown below:
Setup WooCommerce Account
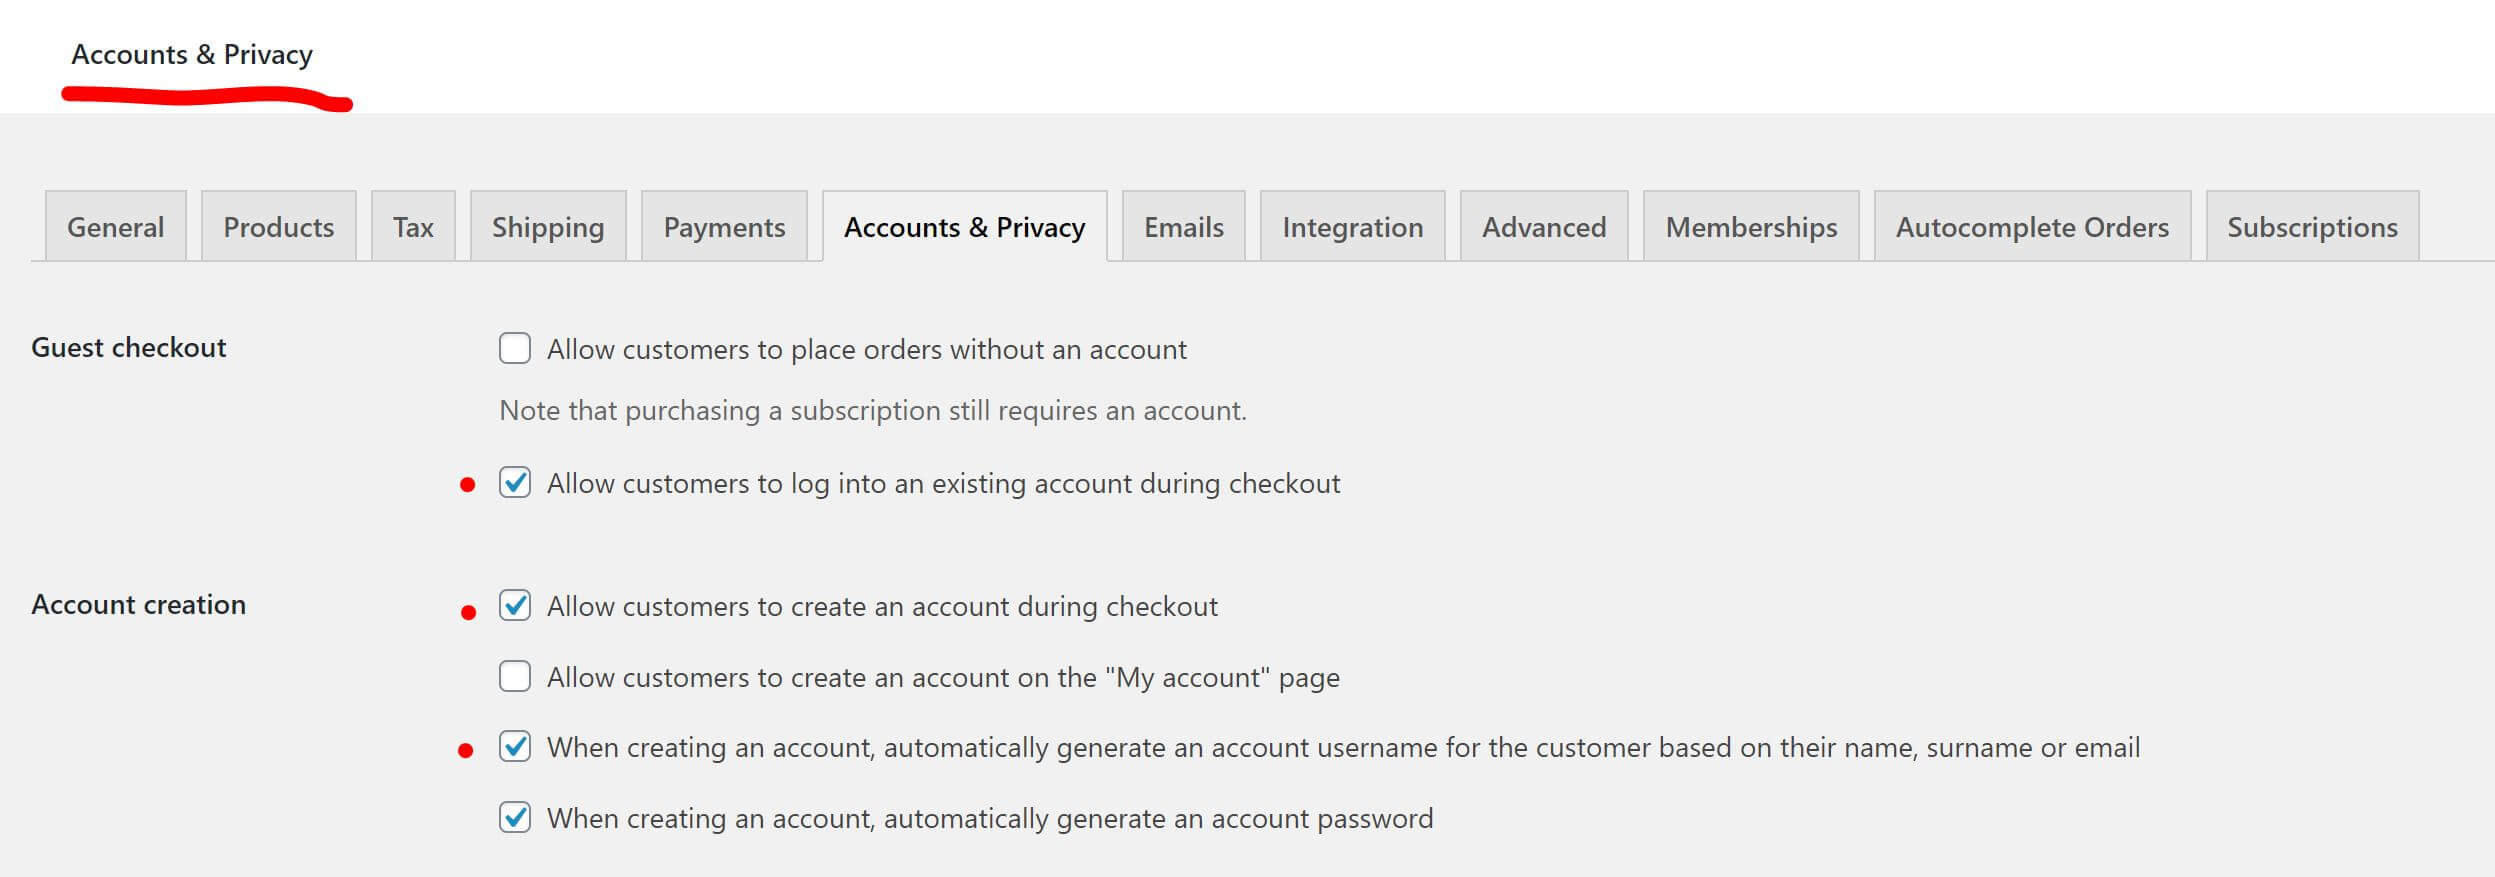
Most businesses will want to prevent people from using the Guest Checkout capability of WooCommerce so that tracking and automation are available for every buyer.
This will ensure that every buyer is automatically registered and logged-in to your site upon completing their first free or paid transaction.
To accomplish this, go to the Admin dashboard under the WooCommerce/Settings/Accounts & Privacy tab and check the options as shown in the image below.
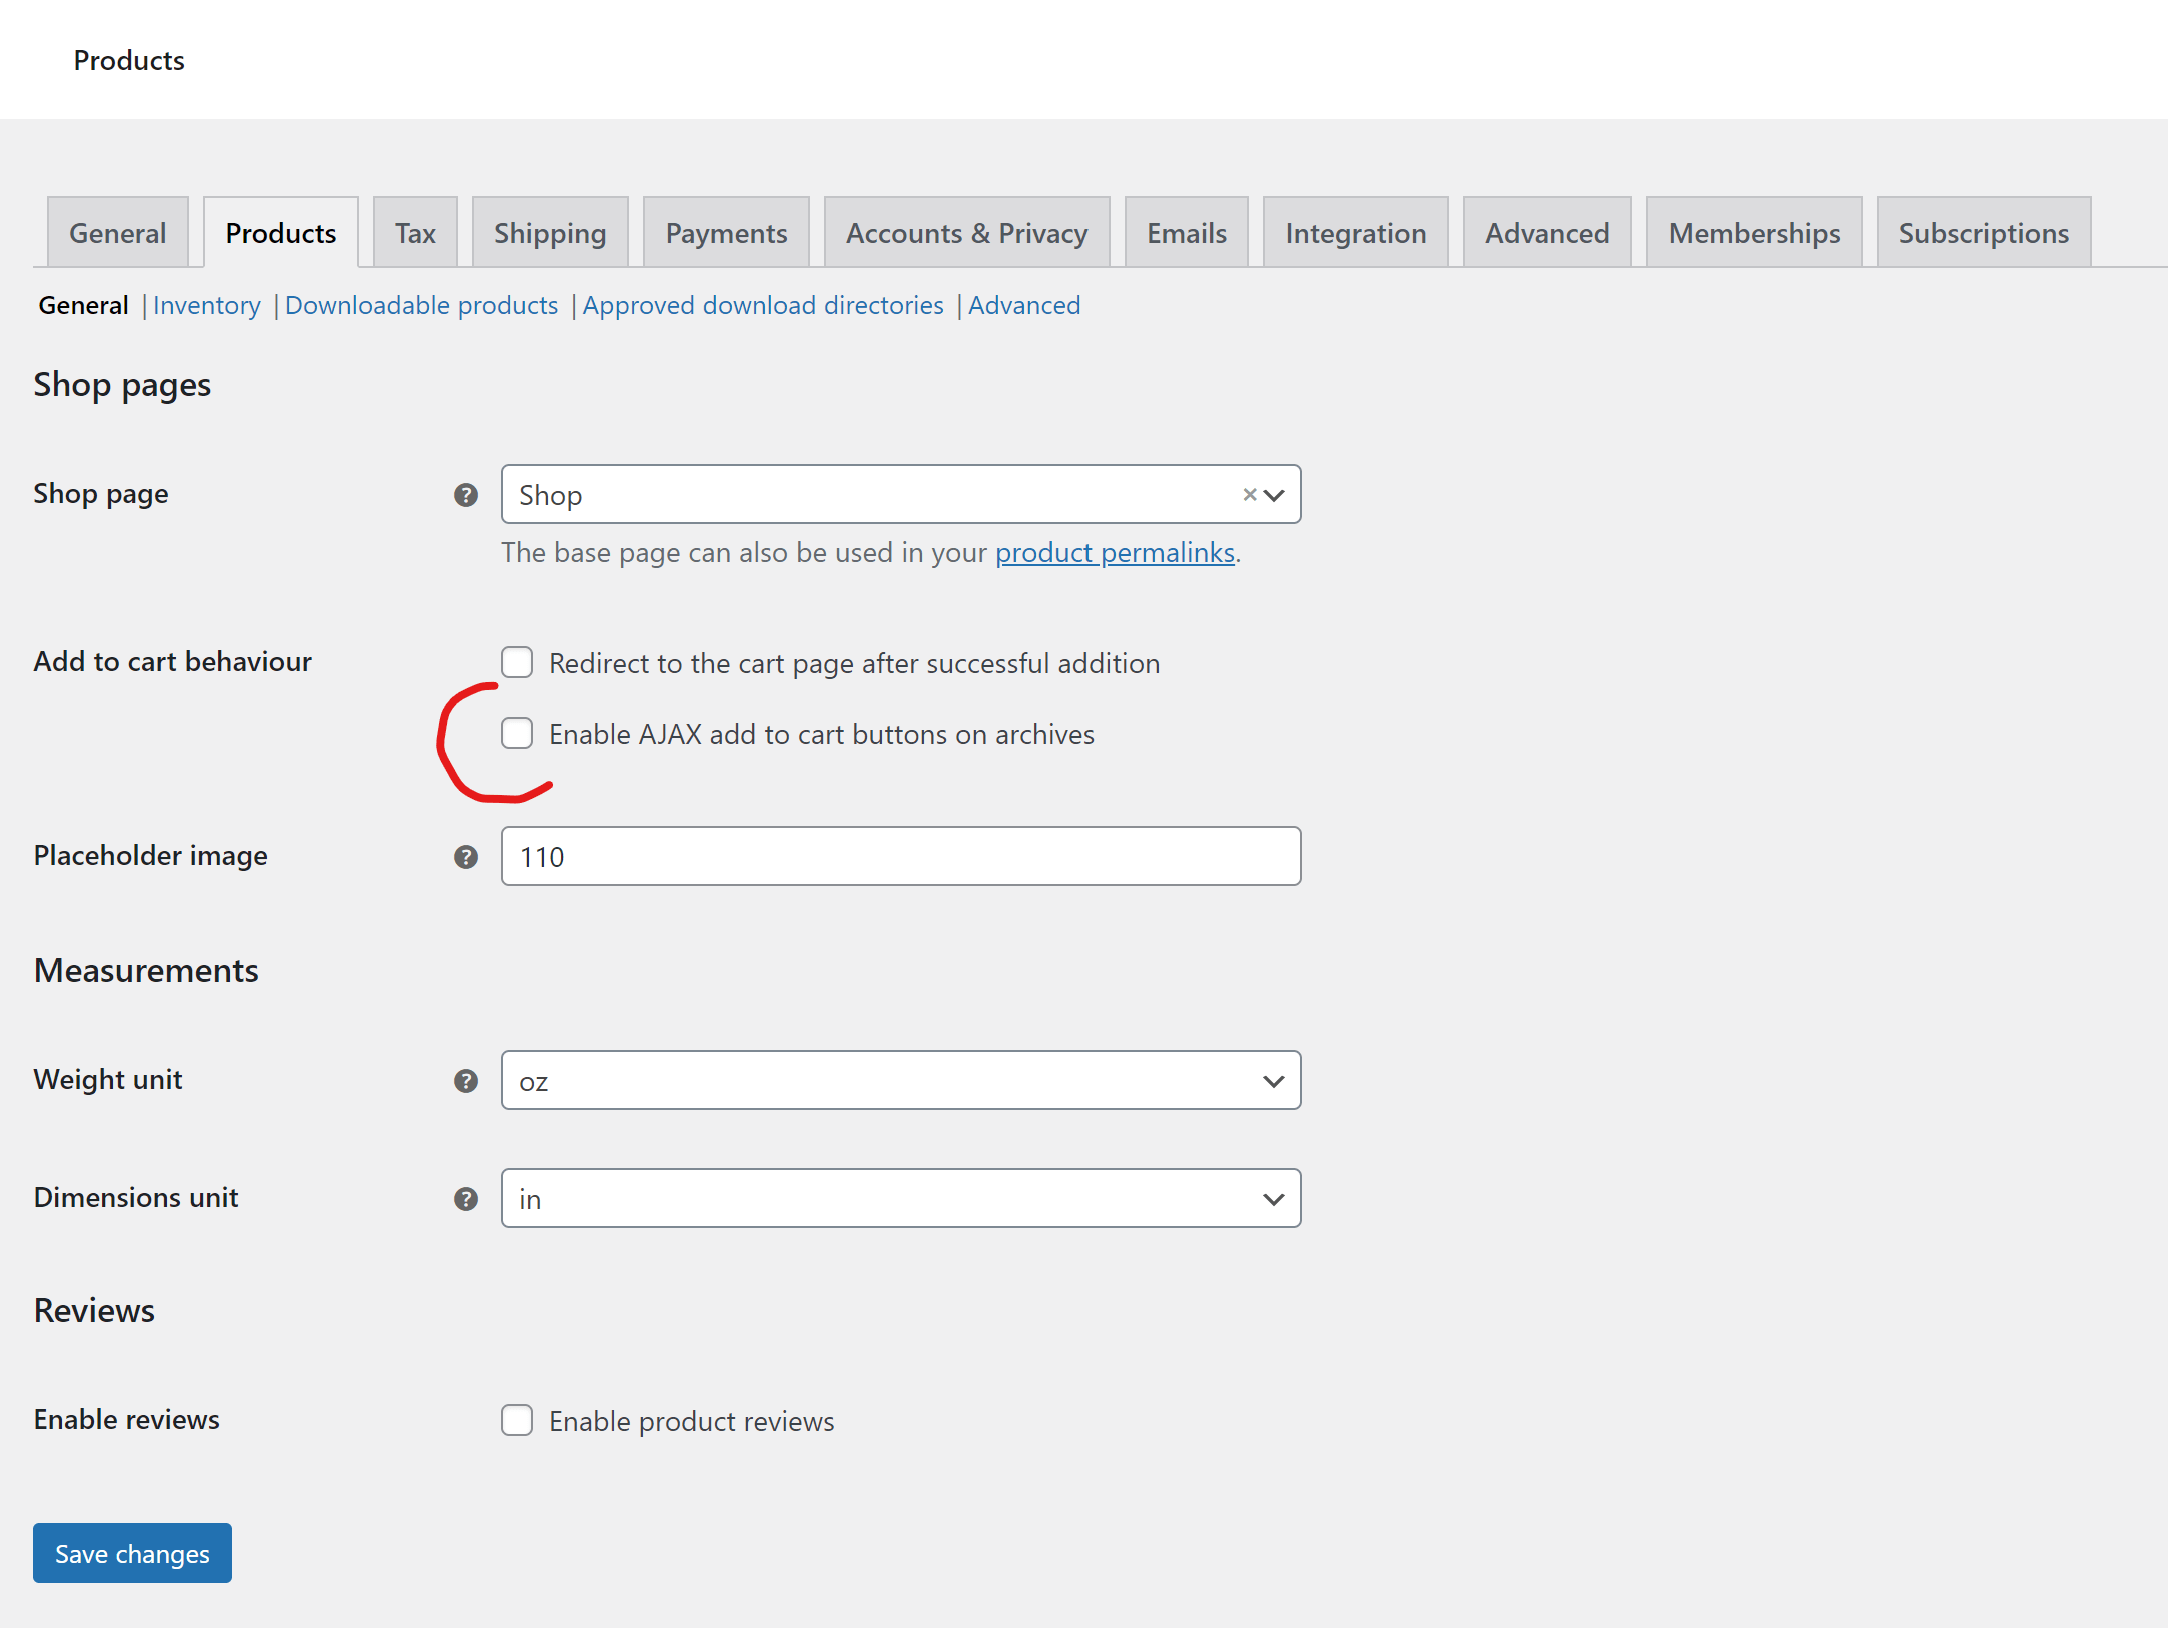
Disable AJAX Add To Cart
Likewise, you will want to uncheck the WooCommerce option for “Enable AJAX add to cart buttons on archives”. This otherwise can result in unpredictable behavior with LaunchFlows and other WooCommerce plugins.
Set Product Layout Capability
LaunchFlows provides an option to disable the product layout capability in the event you are already using another theme or plugin for this purpose. This will prevent you from having conflicting results on the WooCommerce single product pages. Learn More Here
If you want to disable the LaunchFlows single product layout capability, simply go to the LaunchFlows tab of your admin dashboard, and click the checkbox for “Theme Compatibility” as shown below.

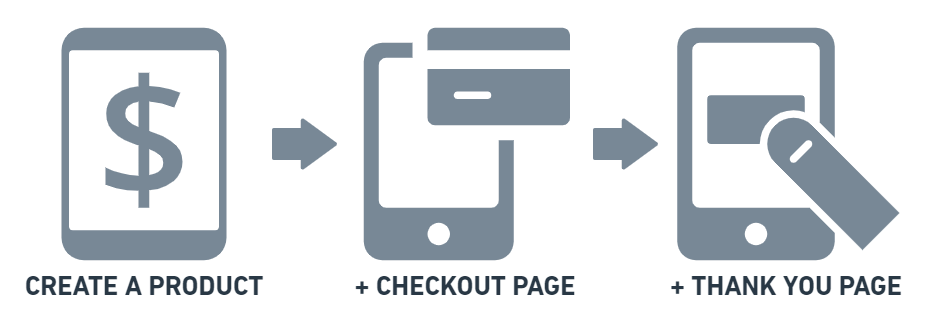
Three Steps To Sales Funnels
LaunchFlows makes it easy to create unlimited Sales Funnels with this just three steps:
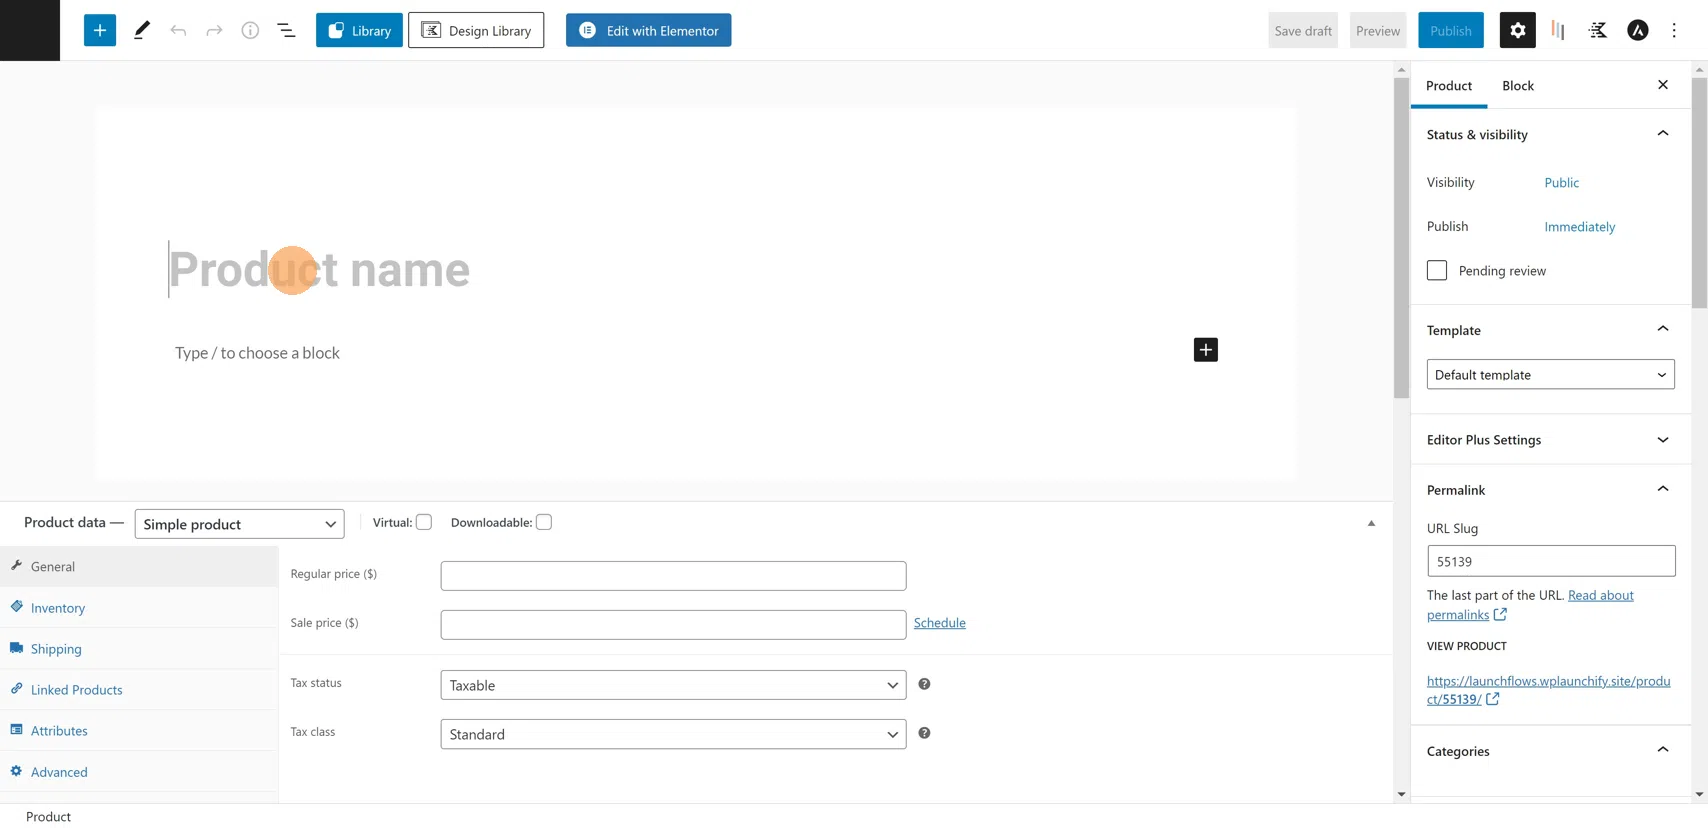
Step 1 – Create A Product
Click on the “Products / Add New” link in your admin dashboard and choose “Simple Product”.

1) Give the product a name
2) Add Price Information
3) Click “LaunchFlows” Tab
4) Click the “Select Next Step Page” field.
5) Type the name of the page or post you want a buyer to be directed to after adding this product to the cart.
6) Click the “Select Post Checkout Page” field.
7) Type the name of the page or post you want buyer to be directed to after they have completed purchase (checkout) of this product.
8) Click “Publish”
Step 2 – Create A Checkout
You can create one global checkout template for all of your products or unique templates for each.
Create a new Page, Post, Product Or Lesson to hold your new checkout.
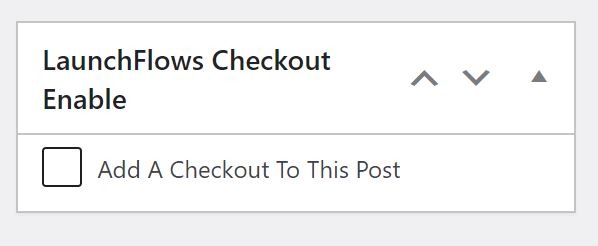
Click the “Add A Checkout To This Post” from the LaunchFlows Checkout Enable Metabox as shown below.
This will produce a standard WooCommerce checkout layout.
If you prefer you can customize your checkout layout.
Step 2a (optional) – Create An Order Pay Page
To ensure that you can have a clean payment option for manually created customer orders (or if customer has an issue paying and wants to come back from their my-account) be sure to create a standard page with WordPress, with the url slug of “order-pay”.
Then add the standard WooCommerce checkout shortcode to that page to make sure it will display the simple but required details of an order payment checkout (this is NOT a custom checkout).
Use this shortcode on the “order-pay” page you create:
[woocommerce_checkout]Step 3 – Create A Thank You
Create a new page with your choice of design.
You may drop the LaunchFlows “Thank You” widget into this layout to show last-order information and more.
In WooCommerce/Settings, choose at least one of your Thank You Pages as the default.
(Note: You may create a custom Thank You page for each product or just use one for all products).
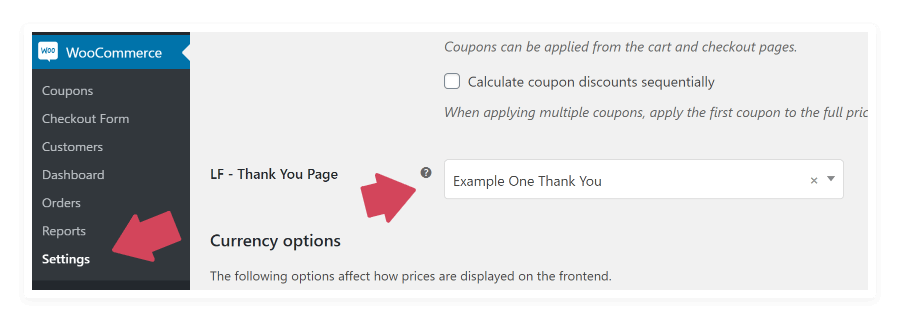
If you use a custom Thank You page for a product, be sure to choose this from the product setup using the “Select Post Checkout Page” dropdown.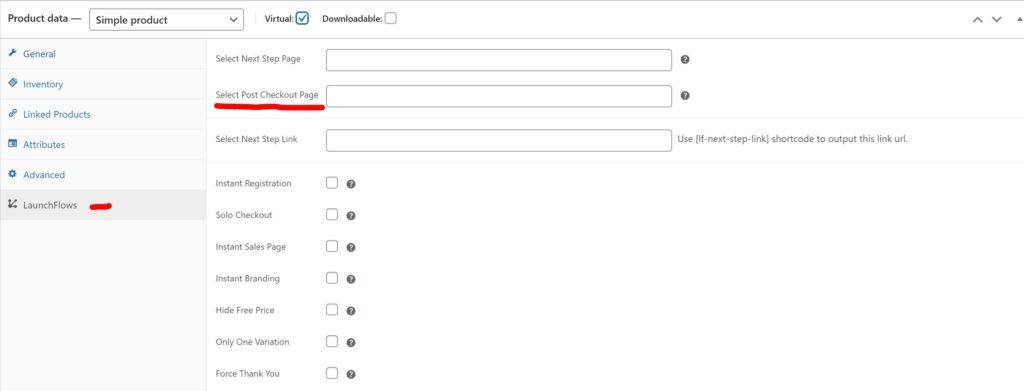
Step 4 – Test Your Checkout
Now test your new checkout by adding your product to the checkout with the LF-Direct Checkout Link.
In the sidebar of your product setup you will find a meta-box with the LF-Direct Checkout Link.
Add this link to any button or clickable element and your product will be sent to your checkout, ready to buy. Easy!