Return To Checkout After Add To Cart
What Is Return To Checkout?
After a buyer adds or removes a product from a custom checkout, this component will return them to the same scroll position(desktop)or top of the checkout section(mobile).
What It Does
This enables the buyer to immediately continue with the checkout after making modifications.
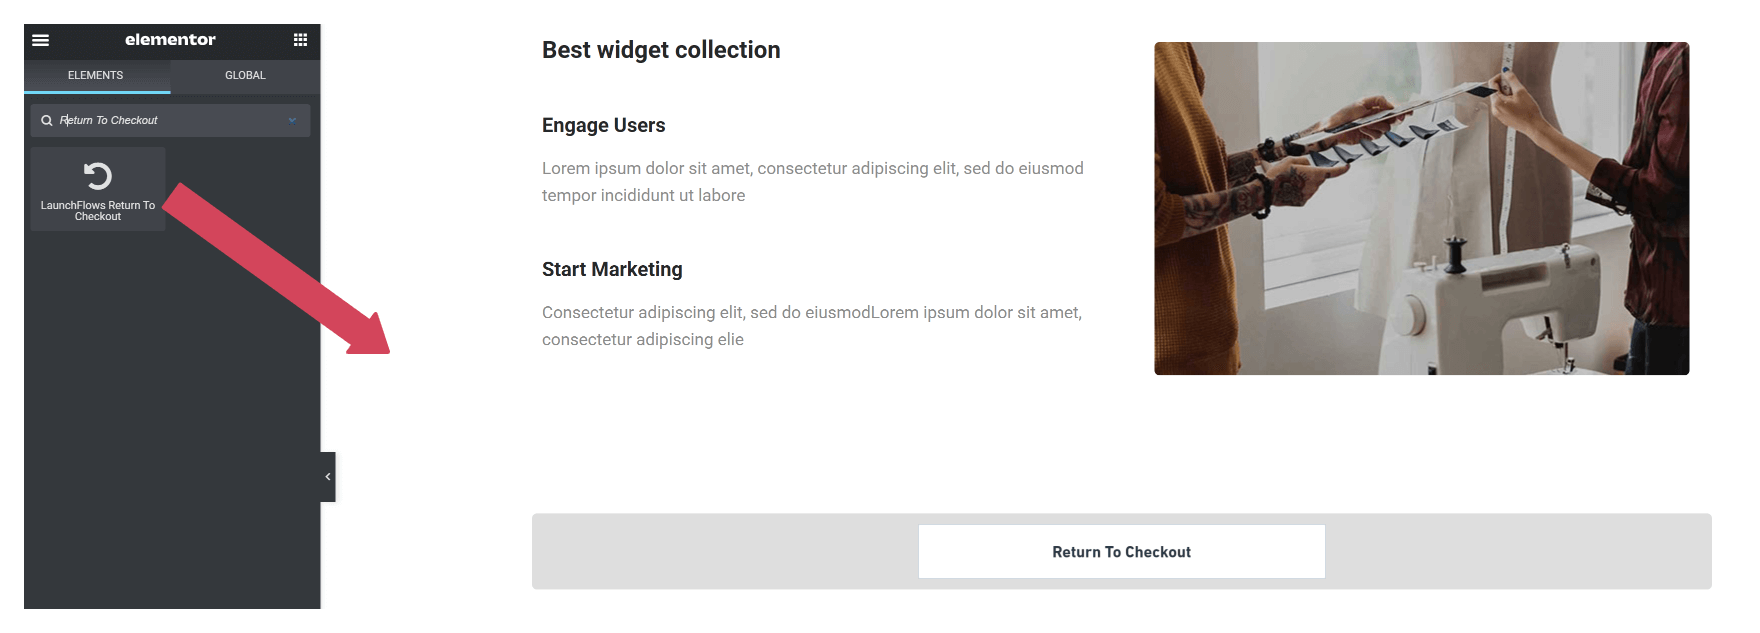
Setup With Elementor
-
- Highlight the section containing your checkout components
- In the “Advanced” tab, add the CSS ID of “checkout“

-
- Drag the Return Checkout widget to the bottom of your layout
- Click “Update” to save your work
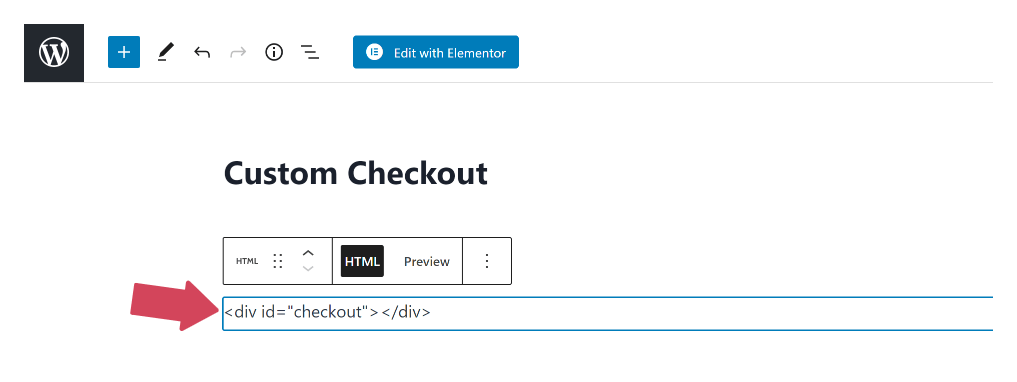
Setup With Classic or Gutenberg
-
- Add a division or block with the CSS ID of “checkout” to the top of the checkout page layout.
<div id="checkout"></div>Or with Gutenberg, add an HTML block and add the same code.
-
- Add the following shortcode to the Classic or Gutenberg Editor
[lf-return-checkout]- Click “Update” to save your work
What To Expect
On Desktop, Return To Checkout will return the browser scroll position to where it was before reloading, on Mobile, it will return to the position of the #checkout ID.
Click To Watch Video
Setup With Gutenberg
1. Using the LaunchFlows option to add a checkout page, create a long form sales / checkout page using any post type, including if you wish, a product.

2. Add at least two call to action buttons or text links. The first will be to add the product to the cart for this checkout page. The second will be for scrolling to the #checkout section of the layout.

3. For the Buy It Now buttons, copy the LaunchFlows LF-Direct To Checkout link for the product you wish to sell, and paste it to the url for the first button. Be sure the product is configured to have this versy same page as the location for being redirected after the product is added to cart (Next Step option).

4. Create a second button that will be used for scrolling down to the location of the checkout.

5. Use the bookmark link of #checkout for this button.

6. Add the LaunchFlows block, shortcode or Elementor Widget for “lf-return-checkout”. This is what adds the javascript code to this layout for enabling the return to checkout feature.

7. Open up the gutenberg List View so you can convert this block into a group.

8. Right click on the lf-return-checkout block and choose “group” so that it becomes a Gutenber group block.

9. After selecting the new Group block, click the “Advanced” option on right side so that you can apply the HTML anchor tag of #checkout.

10. Click the “HTML anchor” field and type in the word “checkout” without the hashtag (Gutenber will add it by default).

11. To hide the WooCommerce coupon component from this layout, first click “LaunchFlows LaunchFlows Woocommerce Coupon”

12. Then click the “Additional CSS class(es)” field and type in “lf-hide”. This will cause the component to be hidden from the public side.

13. Repeat this for the Additional Fields component.

14. Test click the “Buy It Now!” button. The product should be added to the cart.

15. Then click the scroll to checkout button, and you should be taken to the checkout anchor location.

16. Where you can complete the order with the “Place Order” button.

17. Test to see what happens when you delete the product from the order review.

18. The checkout page/post should reload and return to the checkout position.
